How to Make Fermented Celery (Pickled): Recipe + Tips

Did you know that the process of fermentation has been used for thousands of years as a natural way to preserve food? It’s fascinating how this ancient technique is making a comeback, especially in kitchens where health and flavor are top priorities.
Now, you’re probably here because you’ve heard about the wonders of fermented foods and want to try making your own. Maybe you’re looking for ways to add more probiotics to your diet or simply have an abundance of celery lying around.
Whatever the reason, diving into fermentation can feel a bit daunting at first. The fear of doing it wrong or ending up with something inedible is real.
Personally, I’ve been eating fermented celery, cucumbers, bok choy – even fermented fruit juice for years. It’s been a stable in my nutrition for decades.
In this article, we’ll walk through an easy-to-follow recipe for making fermented celery right at home. You’ll learn how simple it is to transform ordinary celery into a tangy, crunchy snack packed with gut-friendly probiotics.
Plus, we’ll share tips on customizing flavors and ensuring successful fermentation every time.
Fermented Celery Recipe

Fermented Celery Recipe
Equipment
- 1 Quart-sized Jar with Lid
- 1 Knife
- 1 Cutting Board
- 1 Fermentation weight or a small zip-top bag filled with brine optional
- 1 Mixing bowl
Ingredients
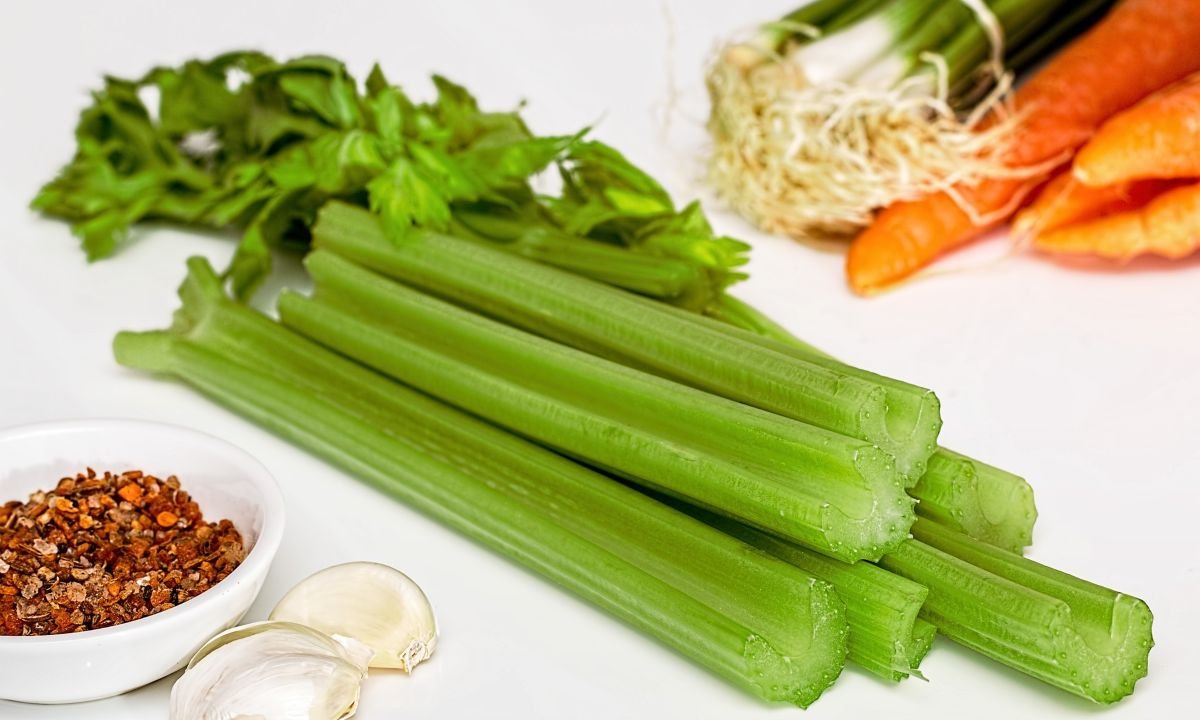
- 1 pound celery, washed and cut into sticks that fit your jar
- 2 cups water preferably filtered to avoid chlorine
- 1.5 tbsp sea salt non-iodized
- 1 tsp black peppercorns optional
- 3 cloves garlic sliced, optional
Instructions
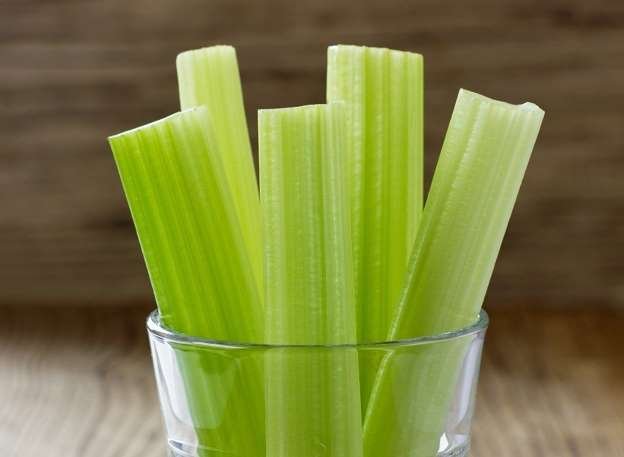
- Cut the celery: Cut the celery into sticks that will fit vertically into the jar.
- Prepare the Brine: In a mixing bowl, dissolve the sea salt in the water to create your brine solution.
- Pack the Jar: Tightly pack the celery sticks into your clean quart-sized jar. If using any optional spices for flavoring, add them as you go along packing in the celery.
- Add Brine: Pour the brine over the celery sticks until they are completely submerged. Leave about an inch of headspace at the top of the jar.
- Weigh Down Celery: To ensure that all pieces remain below the surface of the brine (to prevent mold), use fermentation weights or place a small zip-top bag filled with some brine on top as a weight.
- Seal and Store: Close the jar tightly and store it at room temperature away from direct sunlight in a kitchen cupboard is ideal.
- Burp Daily: For jars without airlocks, open daily to release gases produced during fermentation ("burping") and check if more brining liquid is needed to keep celery submerged.
- Taste Test: Start tasting after 3 days; once it reaches your desired level of tanginess and crunchiness (typically between one week to two weeks), transfer it to refrigeration which slows down fermentation.
Notes
- The longer you ferment, stronger will be both taste and probiotic content; however beyond two weeks might result too soft texture for some preferences.
- Ensure everything used is very clean to avoid introducing harmful bacteria into your ferment.
- Experiment with different spices each time you make this recipe for varied flavors!
- You can add other flavorings such as garlic or dill to the jar for a different twist.
- Fermented celery can be stored in the refrigerator for up to 2 months.
Here’s a video for those of you who prefer to watch over reading.
Tips for successful fermentation (Every Time)
If you’ve ever found yourself scratching your head wondering why your veggies didn’t ferment as expected, or if you’re just starting out and want to avoid common pitfalls, here are some tips that will help you succeed in your fermentation process – every time.
- Keep everything clean: This might sound like a no-brainer, but making sure everything is super clean is key. Your jars, lids, and any tools should be washed well. You don’t need fancy sterilizing equipment; hot soapy water does the trick just fine.
- Quality Matters: Use fresh veggies – this is non-negotiable. The fresher your produce (like that crisp celery we all love), the better your fermentation will turn out. Older veggies can still ferment but might not give you that crunch or vibrant taste we’re after.
- Water quality matters as well: Chlorinated tap water can inhibit fermentation by killing off those beneficial bacteria before they even have a chance to get started. I personally, use filtered or spring water just to be on the safe side.
- Maintain proper temperature: Ideal fermentation temperature ranges from 60-70°F (15-21°C). If the temperature is too low, the fermentation process will slow down, and if it’s too high, the fermentation may produce off-flavors or spoil.
- Use the right amount of salt: Salt isn’t just for flavor here; it’s crucial for creating an environment where good bacteria can thrive while keeping the bad ones away. Too little salt and you risk spoilage; too much could halt fermentation altogether. Find that sweet spot – usually a tablespoon of sea salt per two cups of water works great. Also, always use non-iodized salt, as iodized salt can inhibit fermentation.
- Ensure proper submergence: Make sure that your celery is fully submerged in the brine to prevent mold growth. You can use a weight, such as a smaller jar filled with water, to keep the vegetables submerged.
- Patience pays off: Rushing fermentation won’t do anyone favors. Depending on what you’re fermenting and at what temperature, it could take anywhere from a few days to over a week for things to really start happening. Taste test along the way until it hits that perfect tangy note for you.
- Don’t overcrowd your jar: Overcrowding can lead to uneven fermentation, so make sure to leave some space at the top of the jar to allow for expansion.
- Store in a cool, dark place: Once the fermentation process is complete, store your fermented celery in the refrigerator to slow down the fermentation process and maintain the flavor and texture.
- Experiment with different flavors: Feel free to add different herbs and spices to your fermentation to create unique flavor profiles. Some popular additions include garlic, dill, or peppercorns.
What are the benefits of fermented celery over non-fermented celery?

Fermented celery offers several benefits over its non-fermented counterpart, making it a valuable addition to your diet. Here are some key advantages:
- Enhanced Digestibility: Fermentation breaks down some of the naturally occurring compounds in celery that can be tough on the digestive system. This process makes fermented celery easier to digest than raw celery.
- Increased Nutrient Availability: The fermentation process can increase the availability of certain nutrients, making them more accessible for your body to absorb. For example, vitamins such as vitamin K and B vitamins may become more concentrated or bioavailable in fermented foods.
- Probiotic Content: One of the most significant benefits is the introduction of beneficial bacteria, or probiotics, into your diet through fermented foods like celery. These good bacteria support gut health by improving digestion and absorption of nutrients and may even boost immunity.
- Reduced Sodium Intake: While both raw and fermented celery contain natural sodium, fermenting celery at home allows you to control the amount of added salt during preparation. This can be particularly beneficial for individuals monitoring their sodium intake.
- Unique Flavor Profile: Fermentation adds a tangy depth to celery’s flavor that isn’t present in its raw form. This unique taste can enhance dishes and provide a new way to enjoy this versatile vegetable.
- Food Preservation: Fermenting extends the shelf life of fresh produce like celery beyond what refrigeration alone can offer without losing nutritional value—making it an excellent method for reducing food waste.
- Potential Allergen Reduction: Some people find that fermentation reduces their allergic reactions to certain foods by breaking down potential allergens into less reactive forms.
Incorporating fermented vegetables like celery into meals not only diversifies your palate but also contributes positively towards maintaining a balanced gut microbiome and overall well-being.
Can you ferment celery leaves?
Yes, celery leaves can be fermented. The process is similar to fermenting celery stalks. Here’s a simple recipe for fermented celery leaves:
Ingredients:
- 1 bunch of celery leaves, washed and trimmed
- 2 cups filtered water
- 1 1/2 tablespoons sea salt
- 1 teaspoon black peppercorns
- 1 garlic clove (optional)
- 1 tablespoon dill (optional)
Instructions:
- Pack the celery leaves into a quart-sized jar, leaving about an inch of space at the top.
- Add any optional flavorings, such as garlic or dill, to the jar.
- In a separate bowl, mix the filtered water and sea salt until the salt is dissolved.
- Pour the saltwater brine into the jar, ensuring that the celery leaves are fully submerged.
- Add the black peppercorns to the jar.
- Cover the jar tightly with a lid and let it sit at room temperature for 3-5 days.
- After 3-5 days, taste the celery leaves to see if they have reached your desired level of fermentation. If not, let them ferment for another day or two.
- Once the fermentation is to your liking, transfer the jar to the refrigerator to slow down the fermentation process.
Fermented celery leaves can be used as a garnish, in salads, or as a flavorful addition to sandwiches and wraps.
Bottom Line
Alright, that’s the end of it. Fermenting celery might seem tricky at first sight, but once you get the hang of it, it’s pretty straightforward and super rewarding.
Remember to keep things clean, use fresh veggies, watch your salt and water quality, and be patient. Trust me; your taste buds (and gut) will thank you for it.
So go ahead, give it a try! Who knows? You might just ferment everything in sight before you know it.
More Nurishing Recipes
